Install Node-RED on an Android device using the Termux app
If you have an old, spare Android device or even want to test the Node-RED on your current smartphone, then you can do this using the Termux app quite nice, as it let you run Node.js on your Android phone.
Let’s not waste time.
First things first
Start by downloading the Termux app from the GitHub releases. You can also find the app on Play Store, or F-droid, but it’s likely outdated or incompatible with other Termux plug-ins you might use in the future.
Open the app and update the packages using the command: pkg update -y && pkg upgrade -y. If packages updates too slow, or you get lack of connection error, then update the Termux repo using termux-change-repo. You get all the list repos after the first successful update.
Install Node.js
Now you have all the packages at day, it’s time to install Node.js inside your Termux container: pkg install nodejs python3 binutils -y. Python and binutils is are used by NPM to set up some required packages.
Yes, it’s that simple to get the Node.js and NPM on your Android device.
Add the Node-RED
You can find Node-RED in node package manager, and luckily NPM come with Node.js package on Termux we can simply use it to install Node-RED: npm install -g --unsafe-perm node-red
Run Node-RED
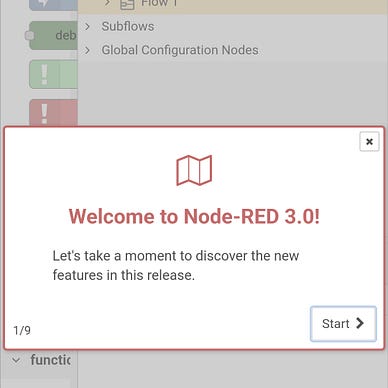
Now you can Node-RED simply by calling the: node-redcommand.
You can access it using the browser from your phone using http://localhost:1880 URL.
If you know your device IP, which you can find in Termux with ifconfig, then you can also access the Node-RED from other device, such as a PC, connected to the same network with your Android smartphone using the http://DEVICE_IP:1880.
Trouble accessing 1880
There is a limit on some phones with ports under 2000, so you can start the Node-RED on other port, such as 2080, using node-red --port 2080.
Where are the configs?
You can find Node-RED configs in the default location ~/.node-red/settings.js. Here you can tune what parameters you need, like adding a password to your Node-RED instance.
You can also find the saved flows inside the same ~/.node-red folder.
Start on boot
If you plan to use your spare device as a Node-RED server, then it would be a good idea to start it with the device.
You can use the Termux:Boot to do this. Get the latest version from the GitHub artifacts. If you don’t want to log in in GitHub, then here you go with a direct link. Open the zip and install the APK.
Alternatively, if you have Termux installed from F-Droid, then you can also get the old version of Termux:Boot from it.
To start Node-RED at boot, simply create a script inside ~/.termux/boot:
mkdir -p ~/.termux/boot
echo '#!/data/data/com.termux/files/usr/bin/sh
echo "Starting Node-RED ..."
termux-wake-lock
node $PREFIX/bin/node-red > $HOME/node-red-boot.log' > ~/.termux/boot/node-red-boot
chmod +x ~/.termux/boot/node-red-boot
Start the Termux:Boot app, make sure you disable the battery saver or optimization from the Android app settings and the app can start at boot, e.g., “Autostart” is on and “Battery saver” is in “No restrictions” mode in MIUI. There are similar options for vanilla Android, One UI, etc.. Do this for the Termux app also.
If you are on Android 12+, please fix the phantom process killer.
Check here for how to make sure the app isn’t killed and start at boot.
Create something amazing
Now that you have the Node-RED set up, you can start your journey in building something that you want to, fast and with ease, as Node-RED, even if it requires a problem-solving ability, and a bit of JavaScript and JSON knowledge, is friendly.
Check out my list of projects:


