Let’s install Raspberry Pi OS Lite 64-Bit on SD Card to use headless
Advantages of 64-bit OS on Raspberry
As of 2 February 2022 you can run Raspberry Pi OS (Lite)as a stable 64-bit version this guide will show you how easy is to install the OS over the SD Card to get starting using your Raspberry Pi.
The 64-bit OS is released for Raspberry Pi 3, 4, and Zero 2 and should provide faster processing and is snappier overall over the 32-bit version.

That’s being said, here’s how you need to proceed to install Raspberry Pi OS
- Download and install Raspberry Pi Imager:


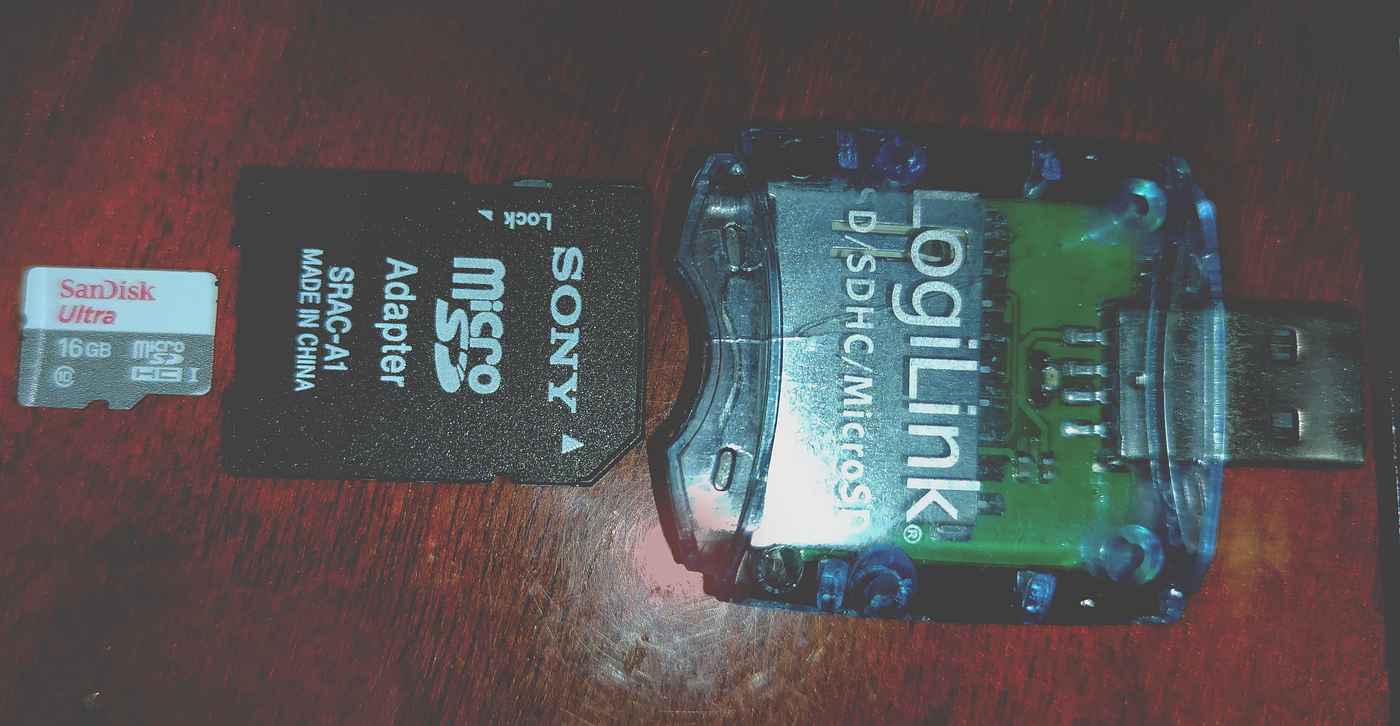
2. Insert SD Card into the card reader and everything in USB:

3. Open Raspberry Pi Imager and select operating system by pressing Choose OS:
I recommend picking the Lite version if you don’t need a desktop version of the OS and using a plain console version, which can save you RAM memory and processing power to use toward your application: cloud, Ai, web app, etc.
However, if you need a desktop version, you can choose it here. In the desktop version, you can use Chromium or Firefox to browse the web, for example.


4. Press Choose Storage and pick the SD Card you inserted:

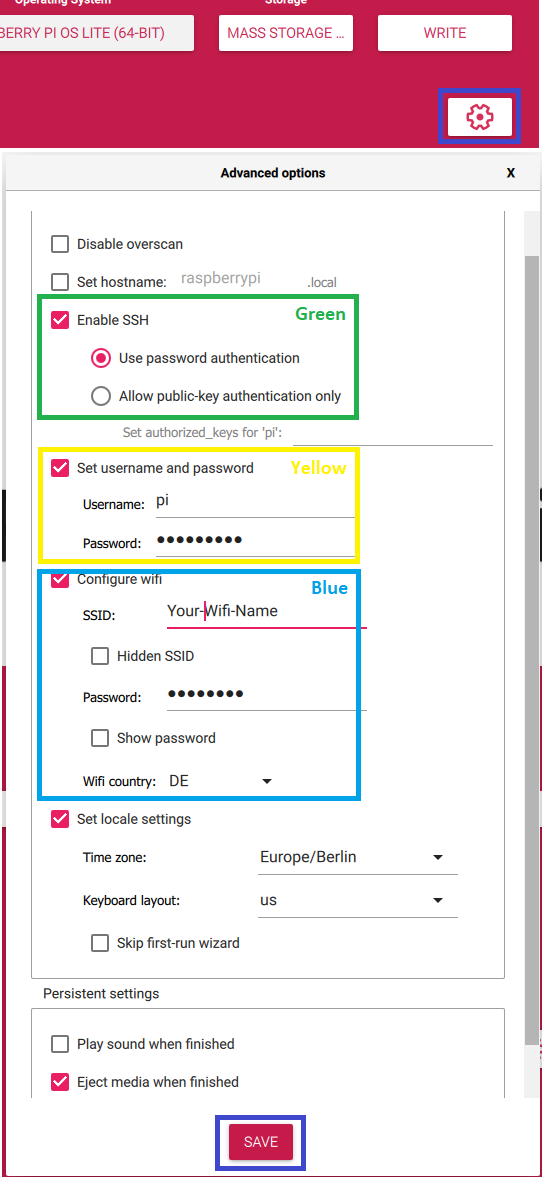
5. Adapt settings in order to connect your Raspberry to wireless and use SSH:
Alternatively, you can use your ethernet cable and connect directly to your router or internet switch.
🟩 Green box: Enable SSH and use a password for authentication;
🟨 Yellow box: Put standard username: pi and password: raspberry;
🟦 Blue box: Insert your Wi-Fi name at SSID and Wi-Fi password bellow;
You can skip the blue box if you want to use an ethernet cable directly.
6. It’s time to write the OS over the SD Card:
Note: by pressing Yes you will 🗑️ erase everything on SD Card.
Wait till the writing and verification process is complete.


7. Take out the SD Card of the card reader:
Congratulations! You’ve installed the Raspberry Pi OS (Lite) (64-bit) over the SD Card. You can now insert it into the Raspberry Pi and start using it.
8. Insert SD Card into the Raspberry Pi and power it up:


Detect IP and connect to Raspberry Pi headless, without a screen, through SSH
Well, after you put everything together and inserted the SD Card into the Raspberry it should connect to your network through the wireless router which you pick above, at 🟦 blue box. Alternatively, if you used an ethernet cable it should get IP as DHCP is enabled by default on most routers.
You could try to connect directly with raspberrypi.local in place of the IP address as your PC and network might support mDNS and skip the search. You can also try to install Apple Bonjour service on Windows and try again.
To find this IP, you should use something like Advanced IP Scanner and search your network for all devices connected to it. Make sure your PC is also connected to the same network with Wi-Fi or ethernet cable.

Now you can connect with Putty or Windows Terminal to Raspberry Pi OS console via SSH:


You should log in with the standard username: pi and password: raspberry which we chose at 🟨 yellow box. The password field will show nothing as you type, so just press enter when you finish typing a password.

You can change pi user password using the command:
passwdIf you got a screen or TV with HDMI and keyboard


You can get the IP directly from the console of the Raspberry Pi OS. Simply log in to the OS with the standard username: pi and password: raspberry which we chose at 🟨 yellow box then type:
ifconfigYou should see and message like this which contains the Raspberry Pi IP address from your local network:
eth0: flags=4163<UP,BROADCAST,RUNNING,MULTICAST>  mtu 1500
      inet 192.168.0.156  netmask 255.255.255.0  broadcast 192.168.0.255
That’s it. You are now ready to use your Raspberry Pi with 64-bit OS for your next project. 😃
Check out:
